

In order to travel by car as you like, I plan to make some small modifications to my H9, strictly speaking, it is retrofitting. From now on, I will describe my retrofitting process and experience.
Bed car modification record: add auxiliary battery (1)
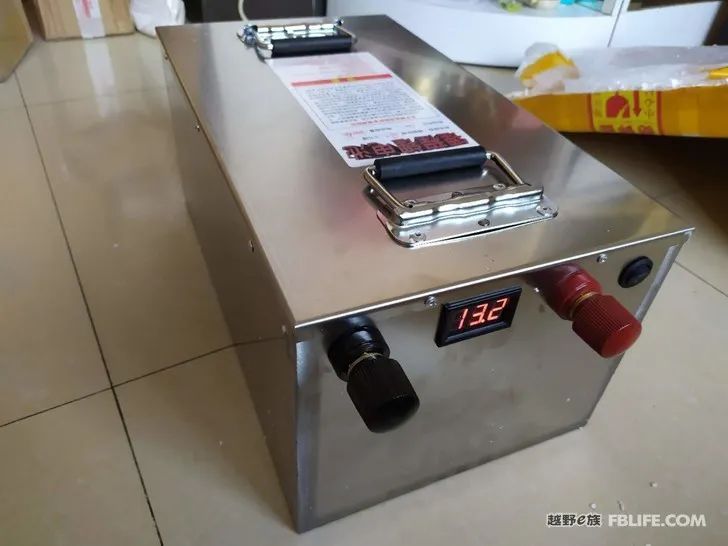
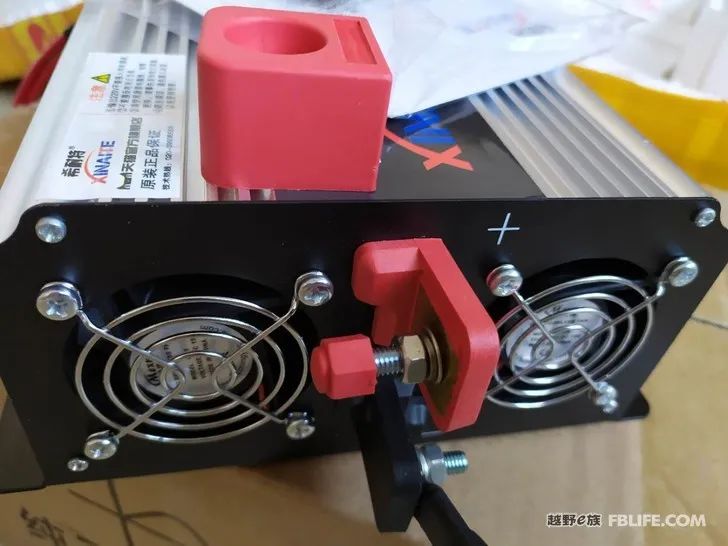
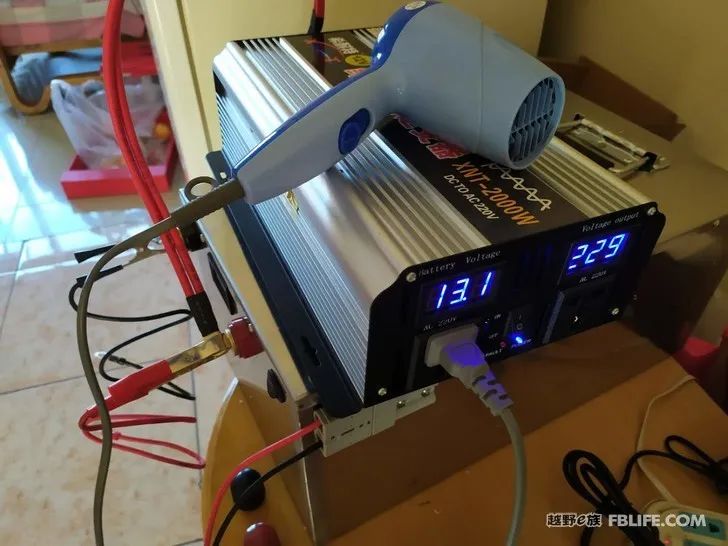
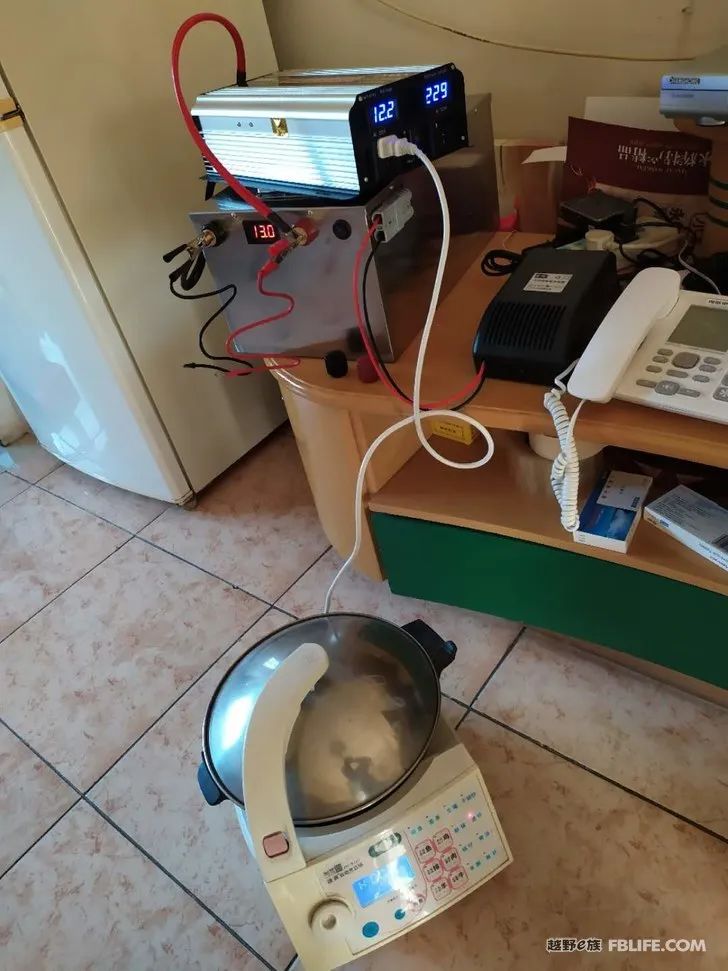
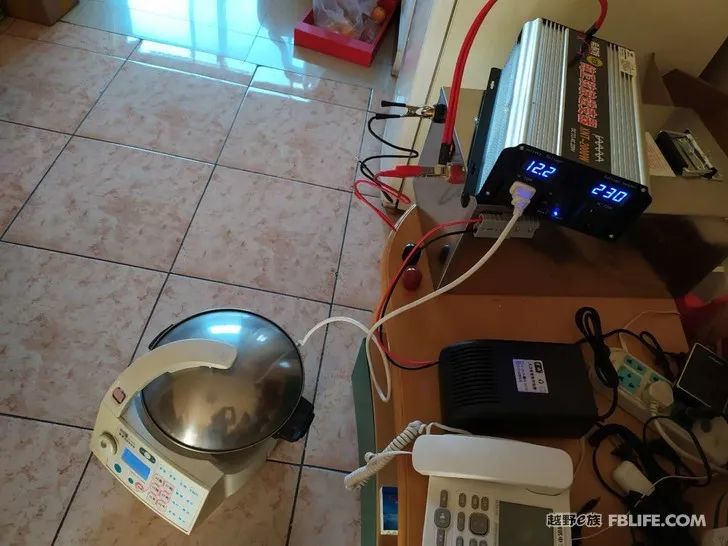
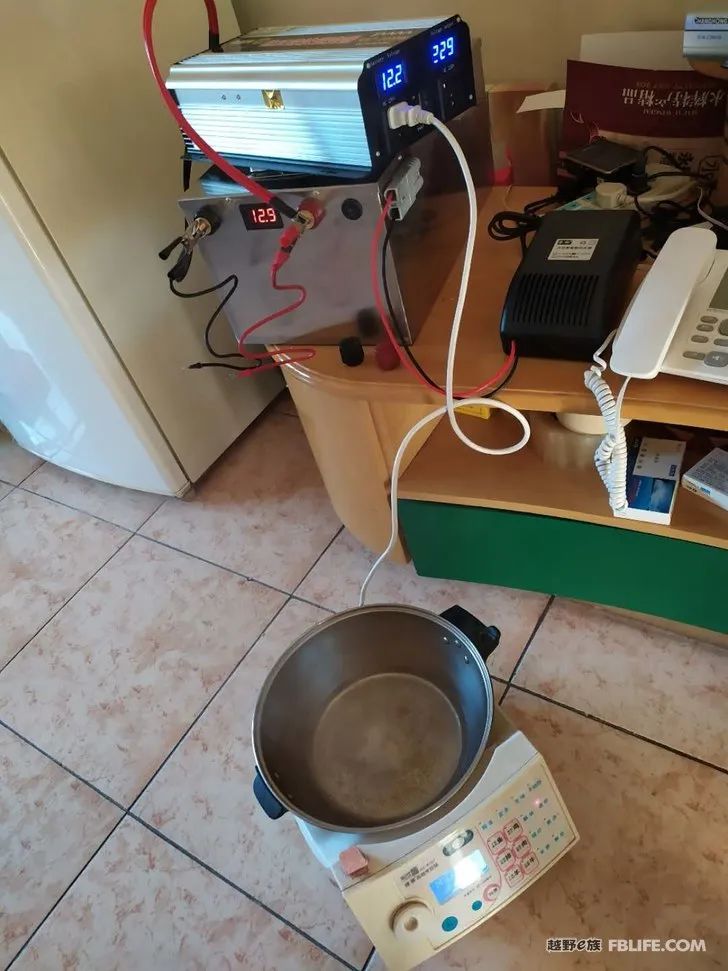
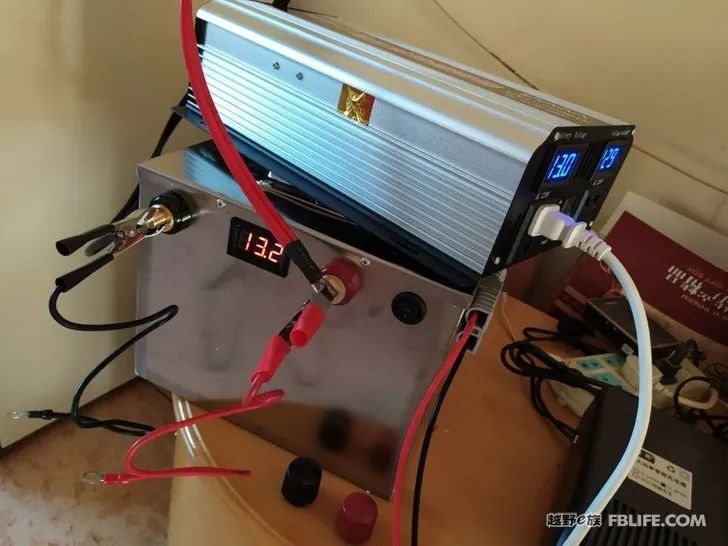
To buy the auxiliary battery and inverter, I bought a 300Ah (3.6 kWh) lithium iron phosphate battery and a 2000W power frequency sine wave inverter. After the arrival, I connected the battery to the inverter Tested 1600W electric frying pan, 1500W hair dryer, no problem.
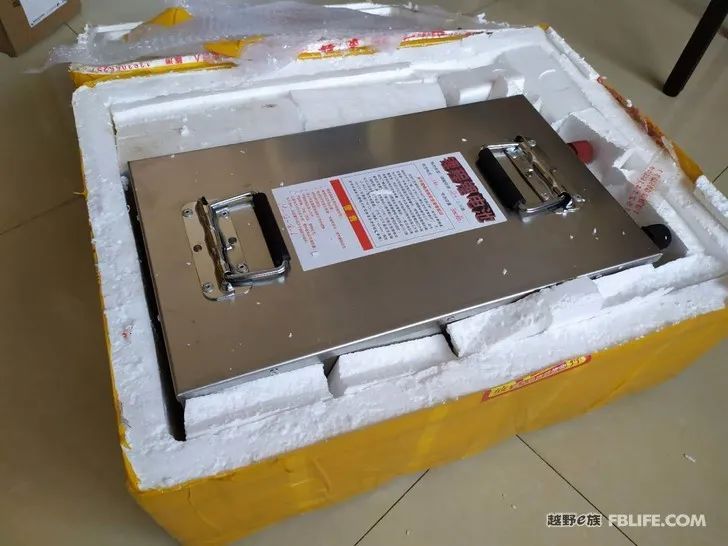


When I choose the auxiliary battery, I definitely don’t choose the lead-acid battery (large volume, heavy weight, small power storage, short life). I choose lithium iron phosphate, ternary, and lithium polymer batteries. The volume of the ternary battery is Relatively small, large storage capacity, relatively expensive, safety concerns, not resistant to low temperatures; lithium polymer batteries are small in size, light in weight, relatively small in storage capacity, cheap in price, and easy to move; lithium iron phosphate batteries are relatively small in size and low in storage capacity Large, good safety, good low temperature resistance, not expensive, long service life. So I referred to the experience of other riders and chose lithium iron phosphate batteries.
Notes on bed car modification: install auxiliary battery (2), and purchase various accessories for installing auxiliary battery.
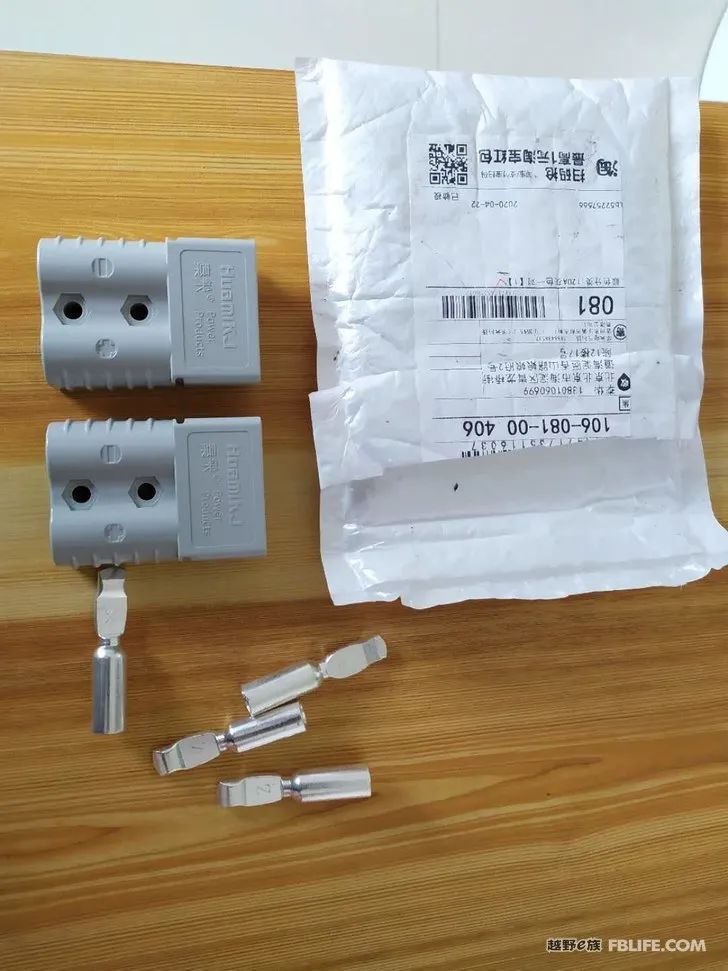
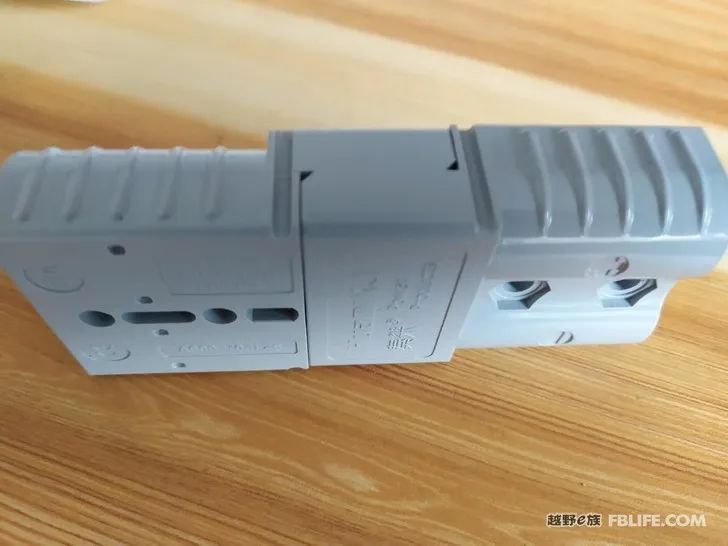
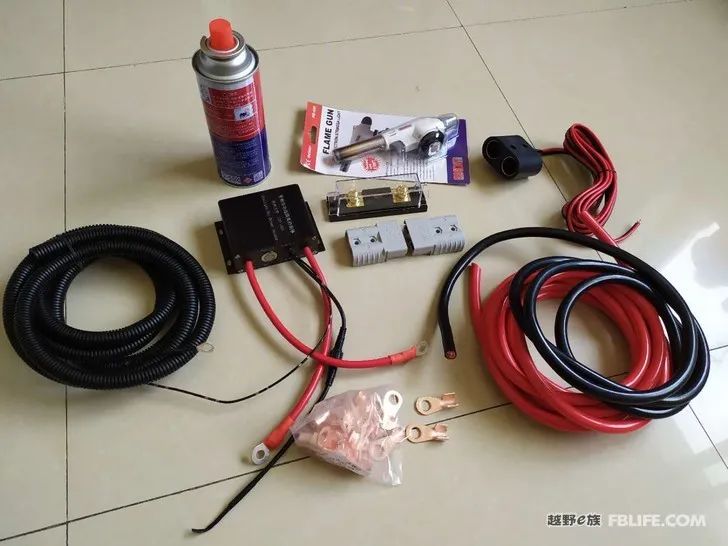
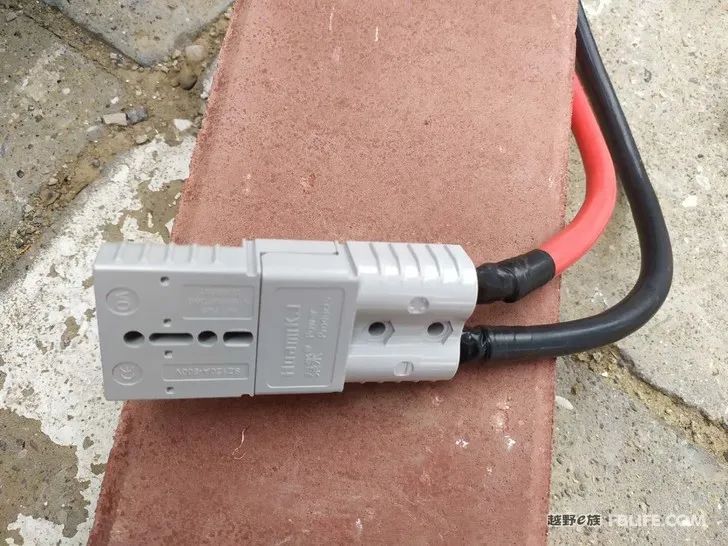
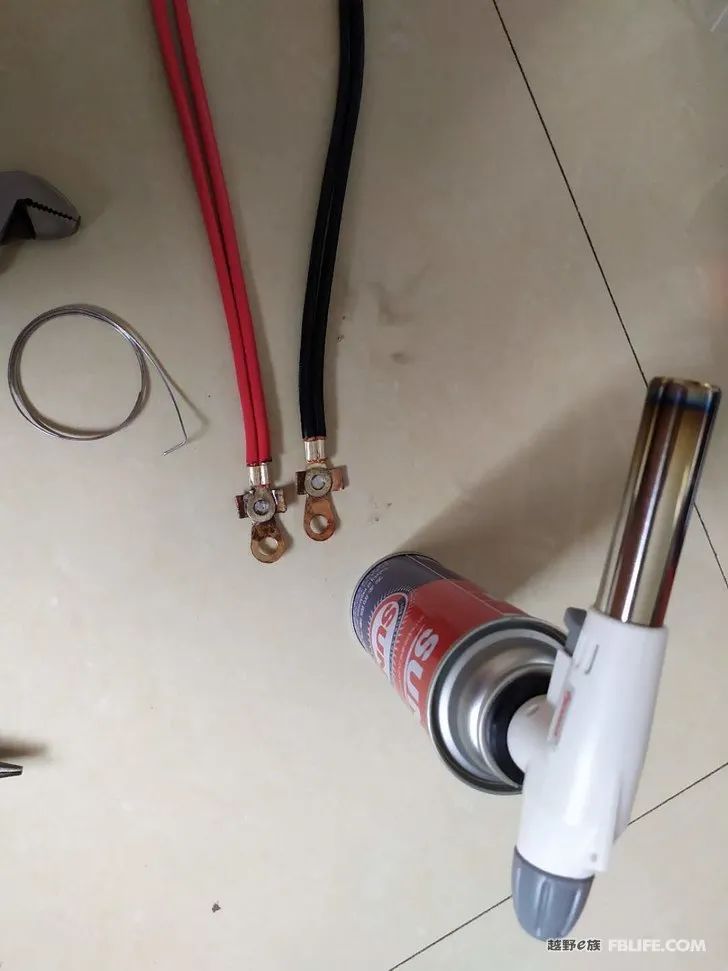
I bought a 150A dual battery isolator, a 300A fuse box, cable connector (copper nose), Anderson plug (for easy removal of the auxiliary battery), 12V power socket, 8m 25 square cable, The 8-meter corrugated pipe, battery adapter, strapping tape, electrical tape, battery adapter, welding gun, solder and gas tank, etc., are all required.


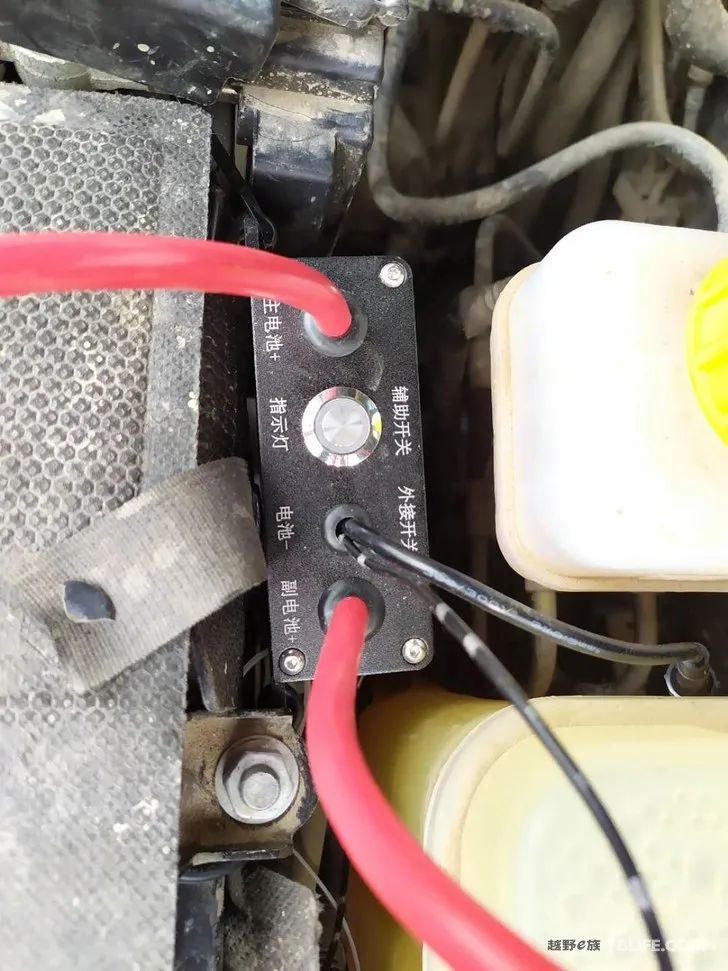
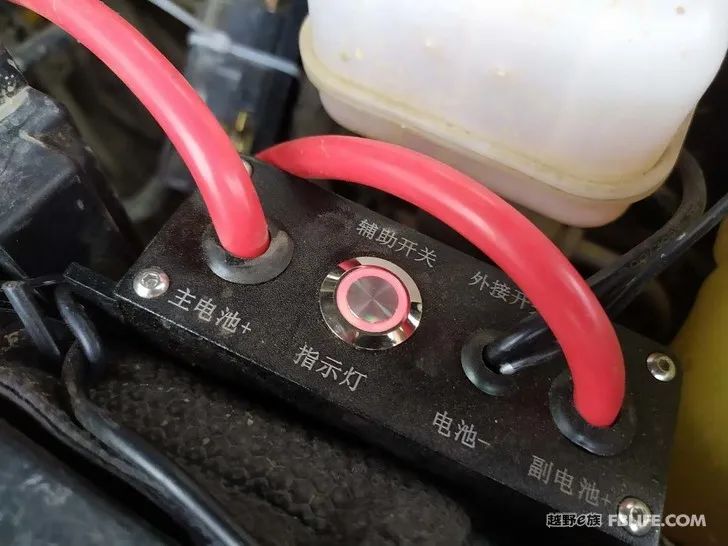
Some people don’t understand the principle of charging and using the auxiliary battery, so they may worry about potential safety hazards, but it is actually very simple. The main battery (the original car starter battery) is connected to the auxiliary battery with a positive and negative line. In order to better use and cooperate, a double battery isolator is added to the line. The original car generator charges the main battery first, and the main battery When the battery is fully charged, the isolator will send a signal to charge the auxiliary battery, and stop charging when it is fully charged; when the vehicle is turned off, the two batteries will be automatically disconnected, and the auxiliary battery will be used for power without consuming the power of the main battery; When the main battery is out of power, the dual battery isolator has a power borrow switch, which can borrow the power of the auxiliary battery to start the vehicle.
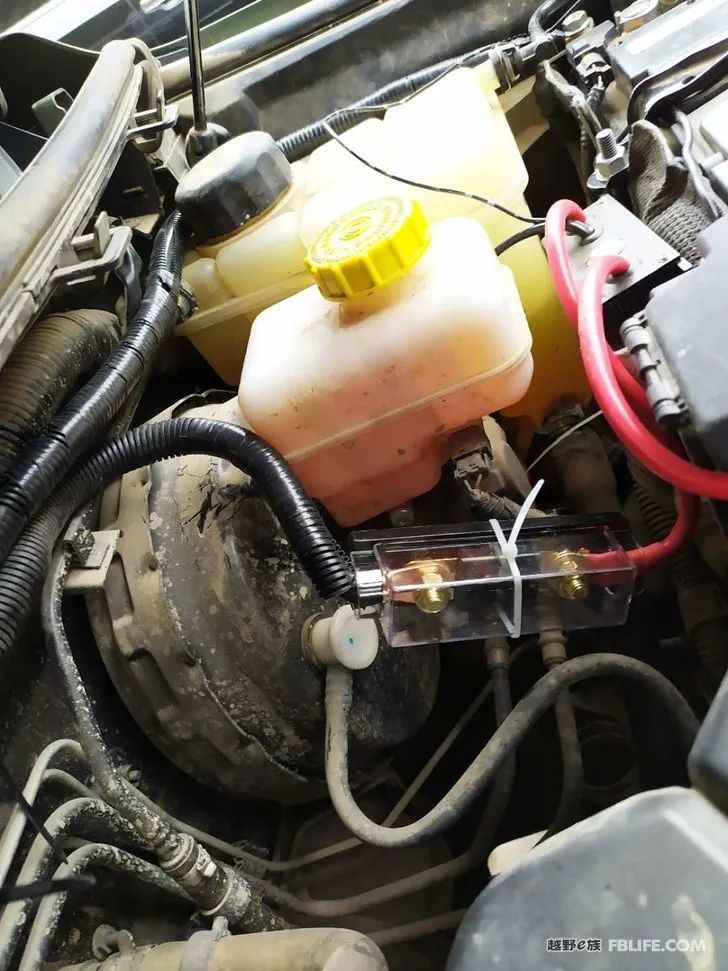
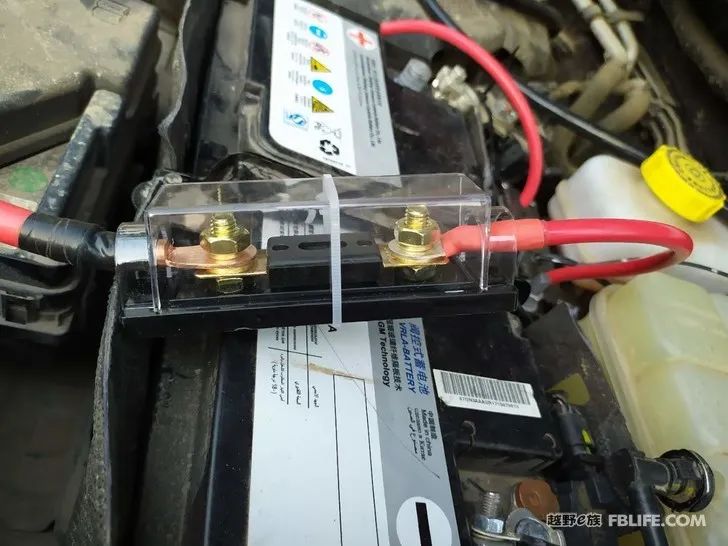
For the sake of safety, 1-2 fuse boxes are installed on the line to prevent burning the battery or electrical appliances in case of any high current (blocking between the two batteries), the two batteries and the electrical appliances involved are connected by welding and The screws are tightened and fixed, and there will be no heat and ignition if they are not loose.
Bed car modification note: add auxiliary battery (3)
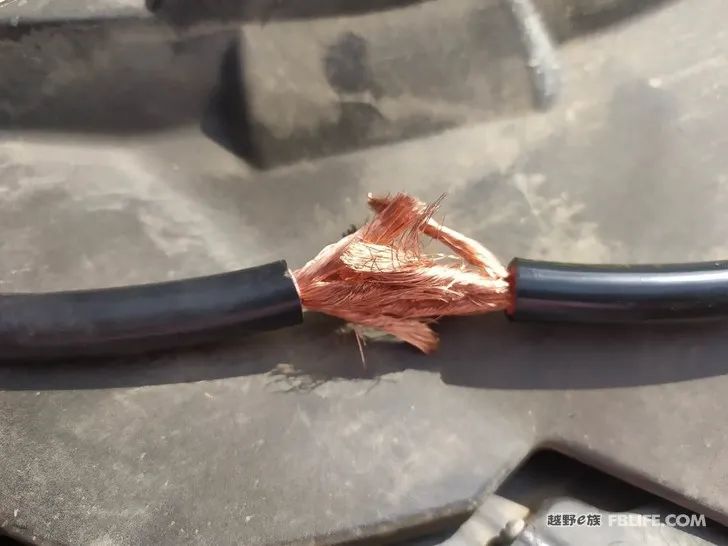
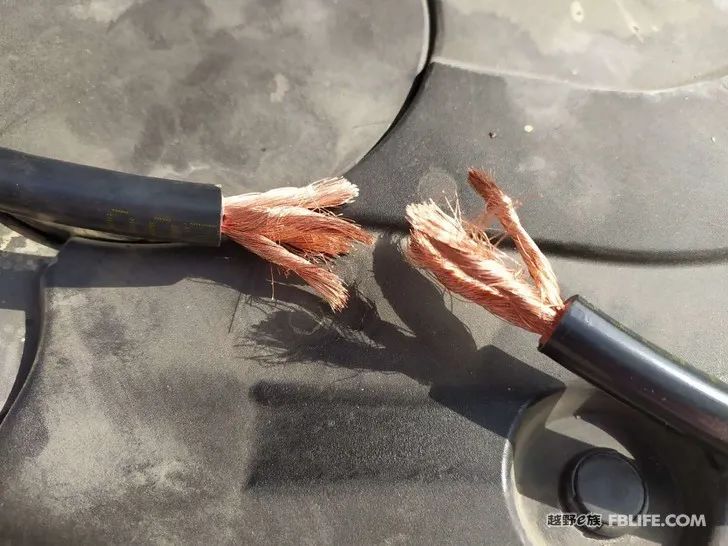
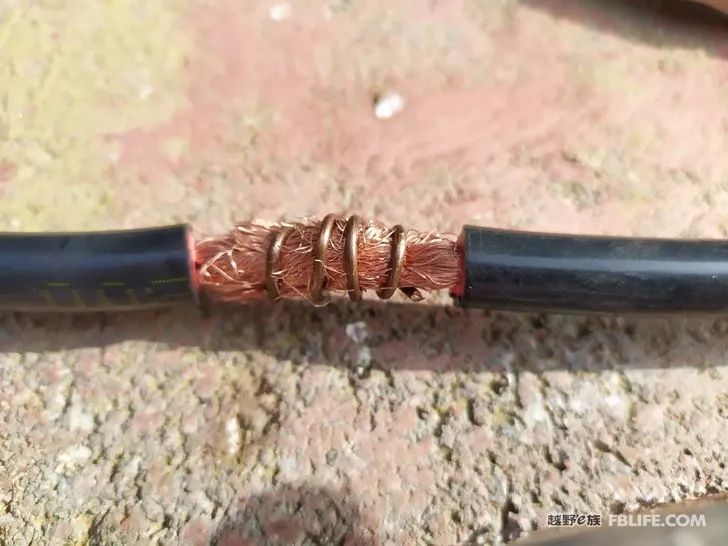
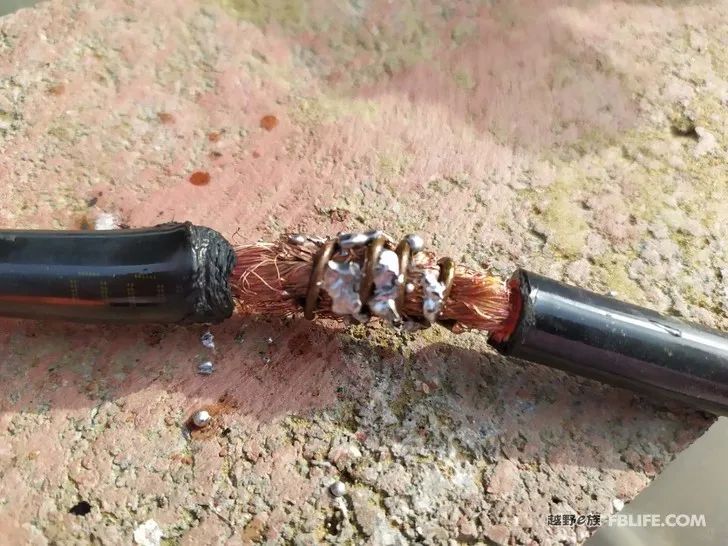
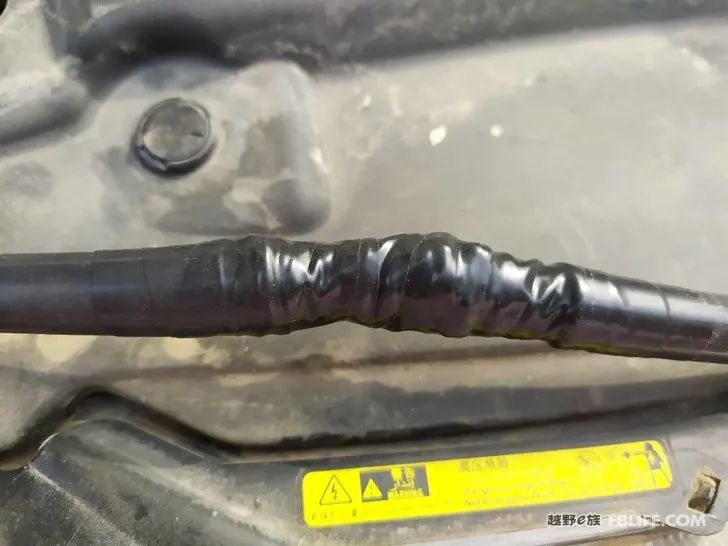
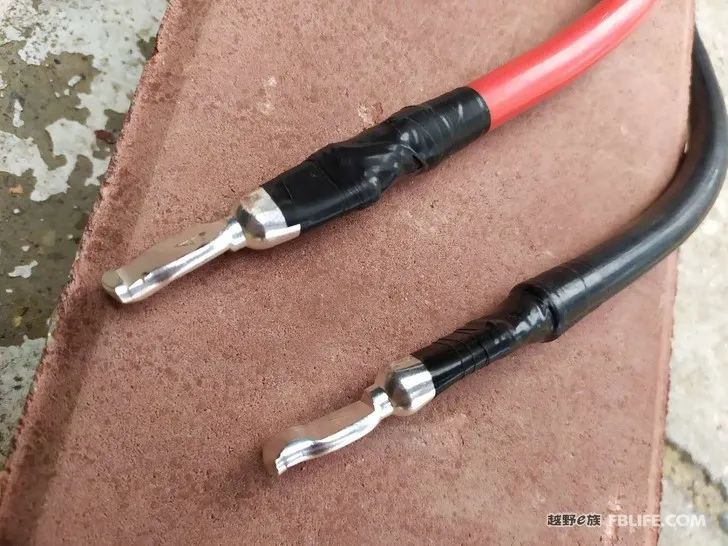
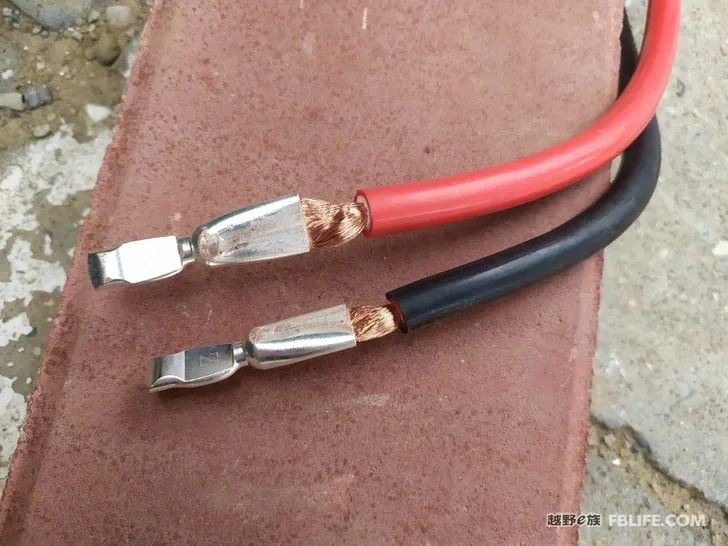
For the cable connection and the installation of the copper nose (preparation for the installation of the auxiliary battery), I bought red and black 25 square cables. At first, I wanted to place the auxiliary battery at the back of the driver’s seat. Thinking that the foot of the second row is uneven, there are protrusions, and the auxiliary battery cannot be put down, so I have to modify the plan. The auxiliary battery is placed under the foot of the co-pilot, and the cable is not long enough. Remove the sheath of the cable, divide the copper wire into four strands and wind it up, wind it with iron wire, weld it, and wrap it with electrical tape); the copper nose of the connecting wire that comes with the inverter is small, and it cannot be connected to the auxiliary battery. I want to remove the small copper nose , replace with a big copper nose, there is no disassembly tool, only a big copper nose can be welded; the Anderson plug also needs to install a copper nose, I don’t have crimping pliers, so I can only use a hammer to tighten the copper nose and the cable copper wire, use Wrapped in electrical tape.
With a large-capacity auxiliary battery, you can use refrigerators, electric fans, electric mosquito coils, electric mattresses, electric frying pans, electric pressure cookers, electric kettles, induction cookers and other electrical appliances in the car, and you can also charge various electronic devices. Bed and car riders take a bath outdoors. They buy a solar water drying device and an electric water suction pump, and they can take a bath beside the car.
Some people say that a 300AH battery is not big enough. In fact, you can choose the size of the battery. For a model as large as the H9, it is almost the same to choose a 300-400AH battery. If it is bigger, it is not only bulky, but also too heavy (>50 kg) to move.
The 300AH battery I plan to move to a place in 1-2 days (150-300 kilometers can be charged), cook 2-3 meals a day with 220-volt electrical appliances, and charge or use other 12-volt electronic devices. It should be enough.
I bought this 300 Ah lithium iron phosphate battery, which weighs 30 kilograms. The seller sent it by logistics and freight, and the packaging was tight and secure. Now the logistics centers are all in the suburbs. The logistics center in Beijing is outside the sixth ring road. I drove 60 kilometers to pick up the goods.
Bed car modification note: add auxiliary battery (4)
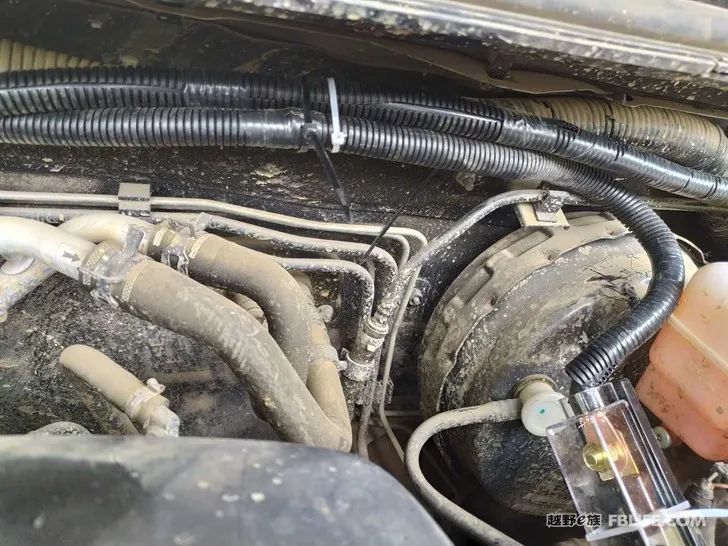
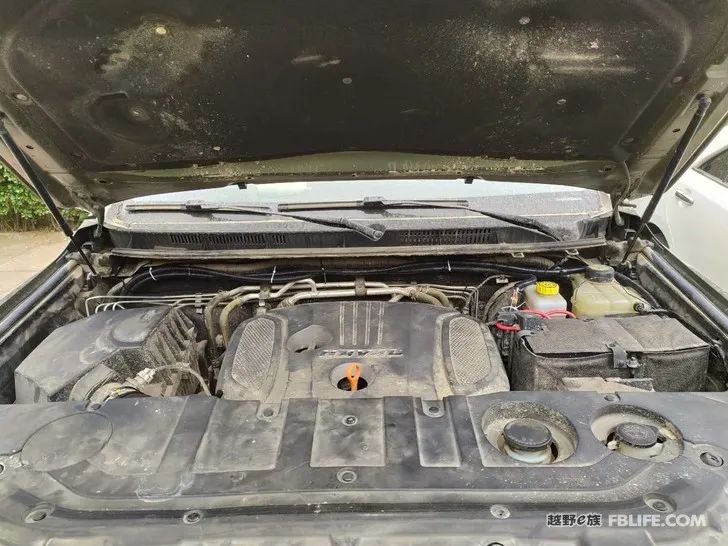
To install an auxiliary battery, you need to pass two cables from the cabin to the car. The sound insulation of the H9 is very good. The cabin blocks the noise of the engine. There are only two holes in the cabin leading to the car, one on the left and one on the right. , I wanted to route the wires on the left side at first, but I couldn’t reach the hole at all. I needed to remove the components in the cabin. Later, I decided to place the auxiliary battery under the feet of the co-pilot, so the rubber bowl in the hole was on the right side of the wires. I could barely touch it, and I removed the guard under the glove box in front of the co-pilot, touched the rubber cup for the incoming cable, cut the cups on both sides with a knife, and taped the red and black 25 square cables Tie it up, then tie a thick iron wire, and pass it from the engine room to the car. It took a lot of effort, but it succeeded.
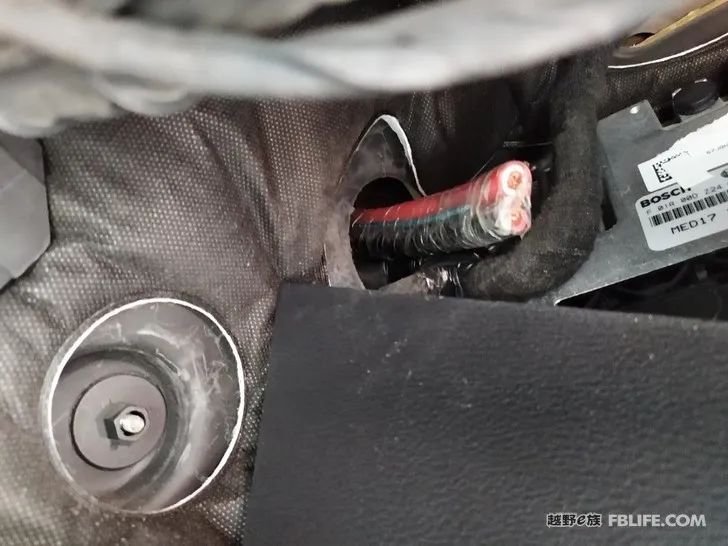
In the past, the engine room of the vehicle was relatively empty (not as densely packed with components as it is now), and the leather cup leading to the inside of the car can be pulled out and threaded easily; in some cars, the leather cup is at the bottom and cannot be reached without removing the parts. They will use the holes in the iron shell of the car body to route the wires from the door; some cars can’t find the holes for the wires, so they run the wires from the bottom of the car. The purpose is to pass the cables connected to the auxiliary battery into the car. One of the key steps in installing the auxiliary battery.
Bed car modification record: add auxiliary battery (5)
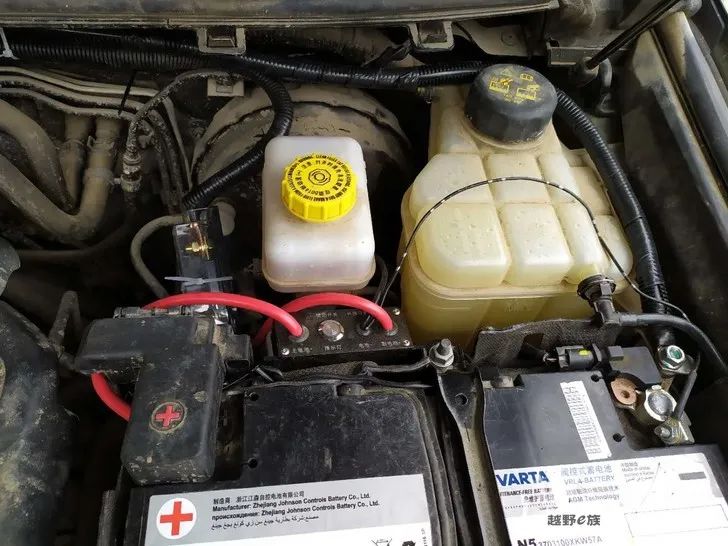
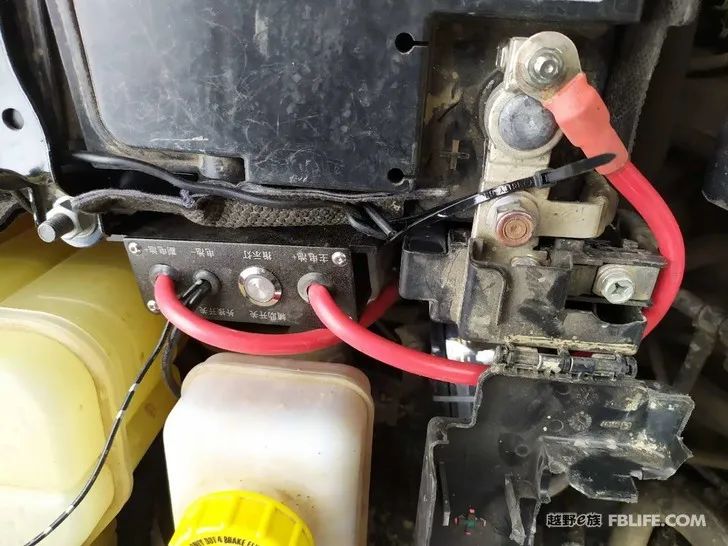
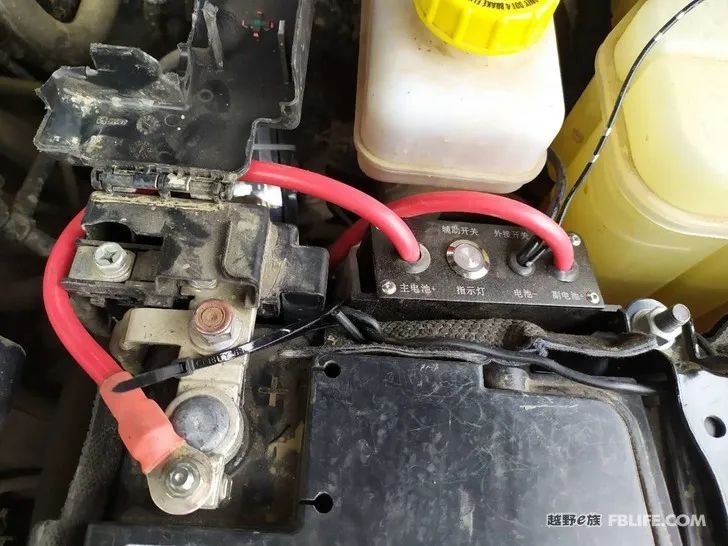
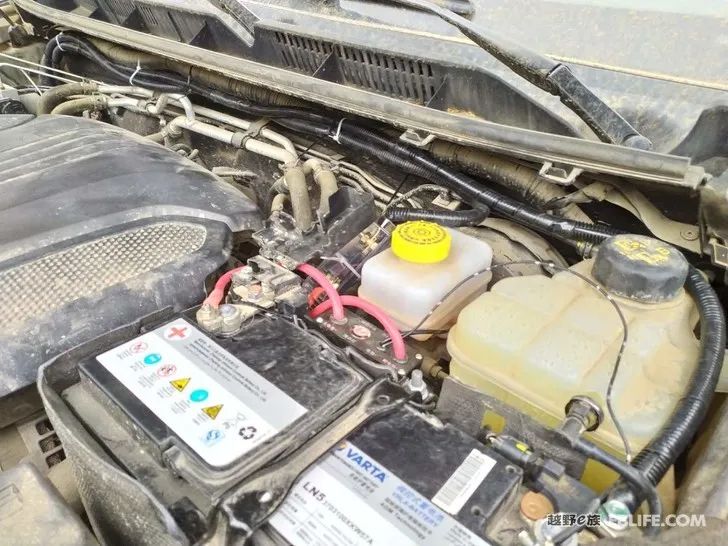
With the addition of double battery isolators and fuse boxes, the cabin of the H9 is full, and all components are fixed with hexagonal bolts. The connection between the isolator and the fuse box is very simple. Now there are many lines connected to the battery pile head, and they are fixed in combination. All are removed and moved, and there are other pipelines nearby. I bought a battery adapter with a switch on the negative pole. After installing it, the original adapter seems too high. I bought it for nothing. It took me a long time to fix the positive wire of the isolator to the positive pole head, and fix the ground wire of the isolator and the negative wire of the auxiliary battery to the negative pole head.

Bed car modification record: add auxiliary battery (6)
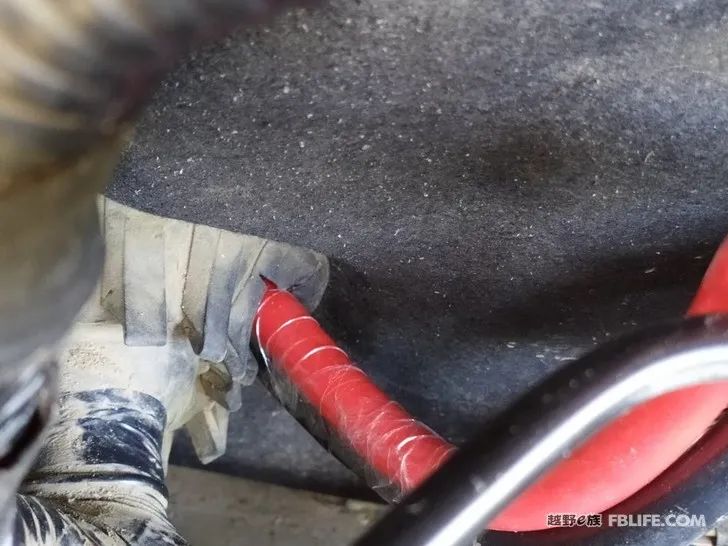
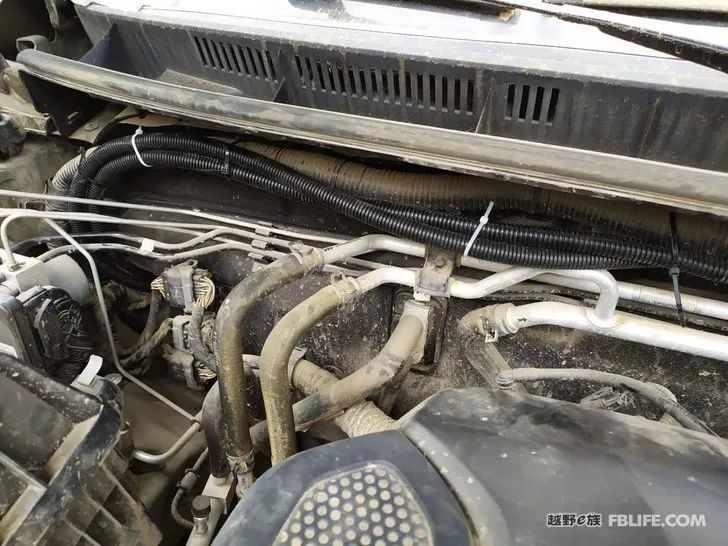
Connect the cables of the double batteries and add corrugated pipes. After I connect the positive and negative poles with the main battery, I add bellows to the lines in the engine room (heat insulation and fire prevention), and bundle and fix the positive and negative poles to the pipelines on the inner wall of the engine room. superior. I put back the guard plate under the co-pilot’s feet, strangely, I removed 4 screws, and restored the guard plate to its original shape with 2 screws, and I couldn’t find where the other 2 screws were attached after touching for a long time. It happened that my car was out of power (it ran out for more than two months), I plugged in the Anderson plug, the light on the dual battery isolator was flashing slowly, I pressed the power switch for 6 seconds, the light turned red, and I Get in the car and start it up, nothing happens – no power. I quickly sent a text message to consult the technical support of Hangzhou Tianyu manufacturer. He said to check whether the negative pole is well understood, and the connection at the main battery is no problem. Yes, start the car. All the work of adding the auxiliary battery is completed.

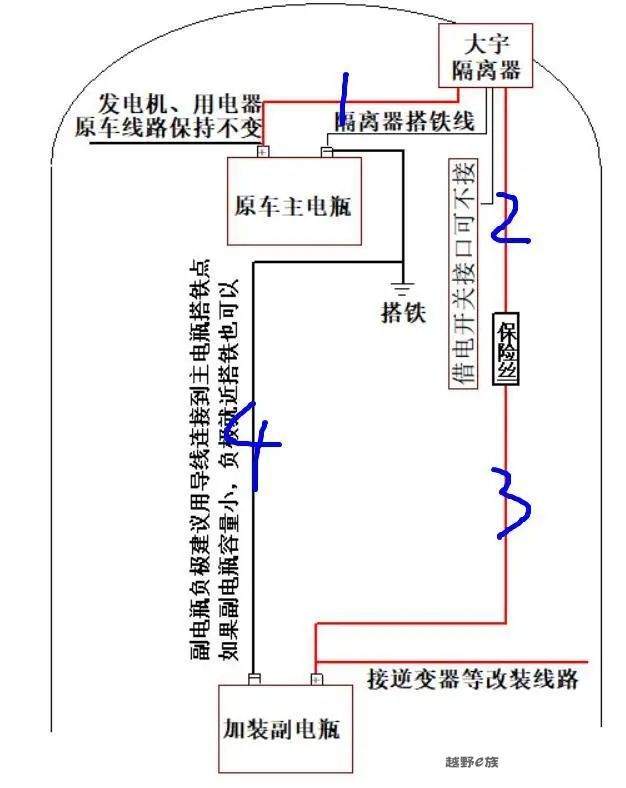
When you buy a dual-battery isolator and connect the primary and secondary batteries, you can refer to this diagram to link the secondary battery.
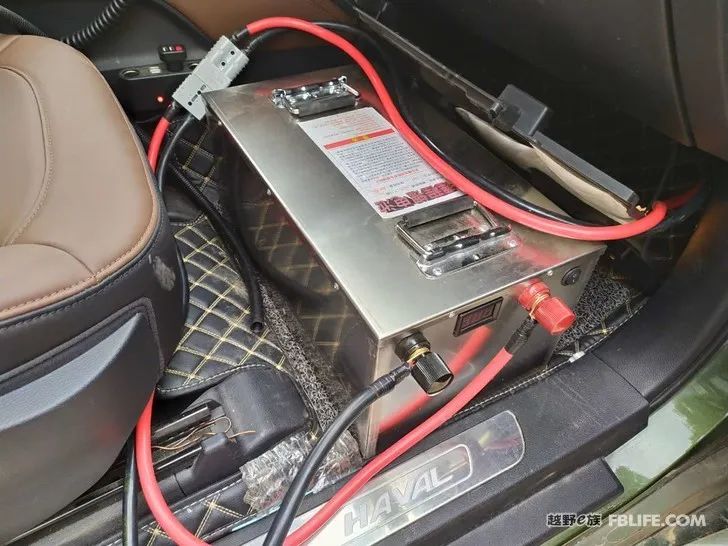
The installed auxiliary battery, because it is relatively wide, cannot be put under the feet of the rear seat, so it has to be placed under the feet of the co-pilot, and an inverter can be added to cook.

My hands-on ability is really not good. In addition to the insulating tape, the cable interface also has a corrugated tube. The two wires are bundled with white, and then fixed to the large wire on the side wall with a thicker black strap.
My car is usually a single person, and the location is no problem. Even if there are multiple people at home, this battery can be removed and placed at home.
[The content comes from the off-road e family community]
Author: Sailing to the voyage
Link: http://bbs.ucar.run/thread_14758575_1_1.html